 You are one of the intrepid few that revel in the satisfaction of fixing automobiles yourself. You enjoy building things no matter the cost or even unfortunate result. While that unintentionally cubist home made book shelf in the living room may lean more towards Braque than Picasso, it represents a valuable lesson learned for the next square and far more rectangular mid-century appearing book shelf. Knowing a few lessons learned the hard way by others can help win at least half the battle when it comes to working on things with engines and more than two wheels.
Danger is a factor that must be considered. A tattered paperback copy of Breakfast of Champions falling off a crooked shelf may cause a slight inconvenience. An automotive mechanical misstep in the can cause expensive damage, permanent injury, or worse. Protecting that old Chevette and yourself from harm is easy if you follow a few simple steps before starting work on an automobile. Small steps made along the way can help get things back together the same way they came apart. We’ve made plenty of the automotive equivalent of cubist book shelves over the years. Here are a couple of the things to help keep you safe and make the job easier.
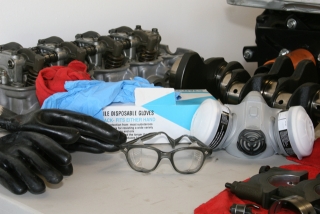
Don the Gloves and Glasses
Labeling Against Memory Loss
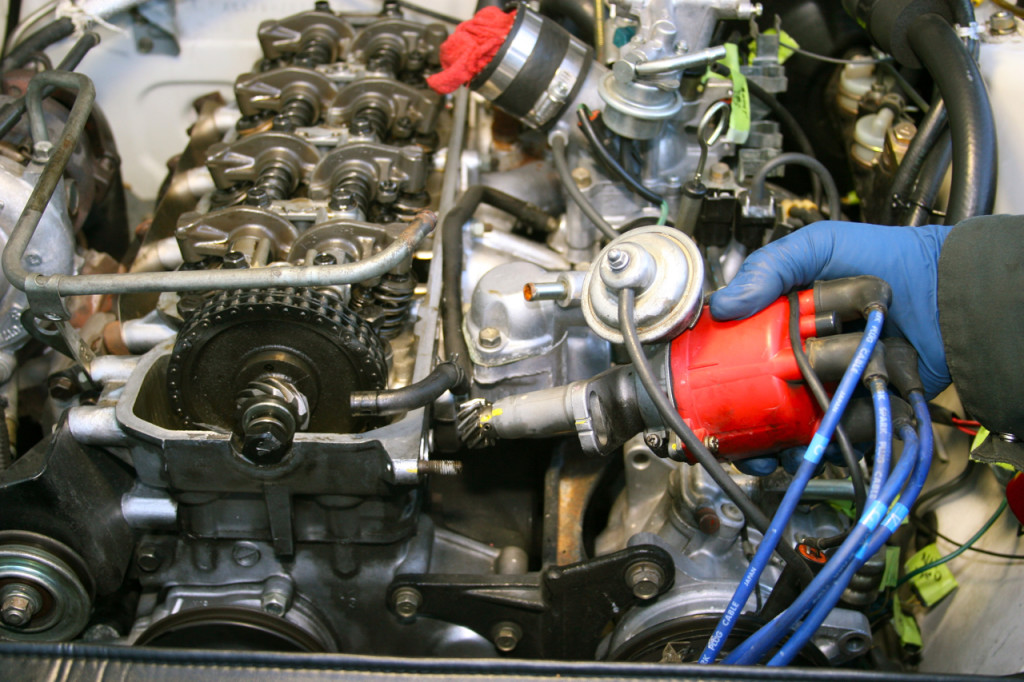
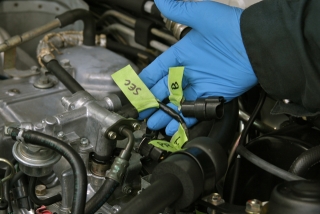
Label things so they get put back together the same way they came apart. Long mask tape and a marker are good tools for marking vacuum hoses and electrical connectors. Mark each hose with a matching number, or each wire with a matching letter. 1 goes to 1. A goes to A. And so on. paint marker is great for daubing identifying left or right marks on larger parts or indexing a distributor. An engraver or set of steel punches are perfect for marking metal parts. A length of tape across the steering wheel or over the ignition with the words “NO OIL!” scrawled on it can help prevent turning over the engine without oil and making an expensive pile of scrap metal. Tear the tape off only after you’ve tightened the drain bolt, spun on the filter, and poured fresh oil in the engine. The small zip-up freezer bags are a good way to keep track of fasteners when disassembling an engine. Just get the ones with that can be labeled.
Massive Safety
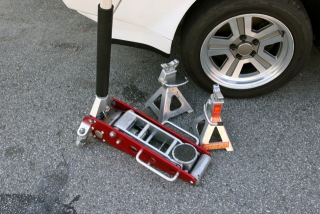
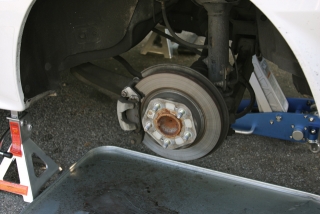
With twenty-seven different kinds of airbags and side impact support built into the doors, even compact cars can tip the scales over 3000 pounds these days. While it would be greater than awesome to have a 20,000 foot shop with a two-post rack like the do-it-yourself or car builder guys on the TV, most of us are stuck with a garage full of boxes and not much work space. The jack and jack stands or a set of ramps are your friends. Never work under an unsupported vehicle. Original equipment emergency jacks are designed only for emergency tire changing – not for working under the vehicle. Use a quality jack and jack stands rated for the weight of the your vehicle. A wheel chock as simple as a block of wood prevents unwanted rolling. Never attempt to use ramps or jack up a vehicle on anything other than level, solid ground. Always yell “clear” before lowering the vehicle back to the ground.
Kill the Power
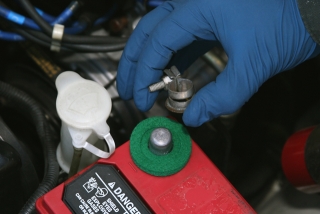
Disconnecting the battery negative or negative and positive terminals not only prevents any accidental electrical shorts, it also disables the vehicle ignition system to prevent accidental starts The finger loses the battle between accessory belts and drive pulleys. The first step is to turn the ignition key to the off position and remove it. This will prevent accidental power ups when the battery is reconnected. After disconnecting the battery placing a thick rag across the top of the two battery posts. Keep wrenches or watches away from the battery to prevent arcing. Even something as ordinary and seemingly harmless as an electric radiator fan can cause a nasty finger injury if it starts unexpectedly. Warning – radio and other vehicle settings may be lost when disconnecting the battery. Check your owner’s manual to find details on a battery disconnect.
Left Side. Right Side.
This tip is similar in theory to the labeling deal. Always leave one side of whatever you’re working on assembled while working on the other side. This maxim is especially effective when working on the brakes. The correct orientation and arrangement of the various clips, spacers, springs, and shims that comprise a brake assembly is surprisingly easy to forget. A phone call, football game on TV, submarine sangwich, or similar distraction can greatly accelerate this memory assembly loss. While it may be tempting to blow the everything down to the spindles and into a million pieces with 150-piece pneumatic power tool set you just picked up on sale – don’t do it. Leaving one side fully assembled for reference gives you the higher ground for re-assembly.
Well said, sir. These ideals, combined with a little common sense and basic hand tools are the foundations of DIY auto repair and long term sanity when up to the eyeballs in said DIY shenanigans. Gloves make taking a lunch/dinner break quick and easy, and I often keep bolts and bits in ziplock baggies to keep track of things over the long haul.
Ah, the good old Polish blueprint. That’s the only way I can do drum brakes.
If that part looks impossible to get at, see what assemblies stand between you and it.
Chances are, 5 minutes and removing that alternator will make it easy to pull the thermostat with common tools, rather than 90 minutes and a trip to NAPA for a 45degree narrow-angle thumb-ratchet
Investment in a Haynes or Chilton manual for your vehicle pays big dividends. Read twice, remove once.
My personal left/right “Polish blueprint” is a digital camera. They’re cheap — doesn’t everybody already have one these days? — and taking pictures of what you’re disassembling doesn’t take long. And if you’re using gloves, you won’t even gunk up the camera.
With resto projects that easily drag on for 6 months, having pictures of my teardown has saved my ass countless times. Those Haynes manual pictures just can’t hold up to even the most poorly-shot digital picture.
Quit when it’s quittin’ time.
I can’t count the number of times I’ve nearly gone to “hulk smash” or “sobbing starlet” mode on some blasted fastener, only to come back after lunch or the next morning with a fresh set of eyes, fingers and neurons and do the job in single-digit minutes.
Get a second opinion.
When stumped or mystified, I run things by my wife (who happens to be a mechanical engineer). Even if she doesn’t have a direct answer, the series of questions she asks as I explain it to her forces me to think about it in ways that help me figure out the problem. “Well, the bolts go through the water pump into the….OHHH!!! I got it!”
Plan ahead
Most good parts stores have short hours on the weekends (or are closed on Sundays). If you’re likely to need a bizarre part or fastener (one that’ll just get you stares at the big guys), get it mid-week or start early on Saturday to make sure you can get your flywheel to them in time.
Leaving a greasy head-print on the white wall behind the couch will detract from your wife’s enthusiasm for your DIY wrenching.
This is self-explanatory.
I would add that a digital camera comes in handy for taking pictures along the disassembly road in helping reassembly to go smoothly. I would also echo that if getting that last bolt started is kicking your ass, or you can’t get a component to line up right. Pause, take a break, grab a coke, have a smoke but, relax a little. Things will often work out better after a short break than going postal on whatever you’re working on breaking stuff.