 Daily driving classic cars and trucks comes with benefits and pitfalls. 200,000 miles combined with 25 years can have deleterious effects on the materials originally used to build even the finest automobiles. One of the more vexing failures is when a horn stops working when you lay on the button or worse – when the horn sounds off all on its own.
And that’s just what happened driving down the Mass Pike in the Vermontero while admiring the passing foliage, craggy hills and suddenly wondering which idiot was laying on the horn. Wait. What the?!? That idiot was me, and my horn was honking of its own free will. When this happens the best thing you can do is pull over, lift up the hood, find the horn or horns, and gently pull the connector wire off to open the circuit and silence the noise.
 The last thing you should do is make a ham-fisted attempt at steering wheel horn switch repairs while hurtling down the Mass Pike at modern highway speeds, or attempt to remove the horn cover to disconnect the wire while driving. This could result in injury, or at the very least a discombobulated horn assembly sitting on the passenger seat where a box of donuts should be. Don’t ask me how I know this.
The next step after disconnecting the circuit is make actual repairs. The cheater’s way out is to bypass the steering wheel mounted circuit with a under dash button, but giving up was not an option in this case. Ordering a new switch assembly is another time tested approach, unless of course time has run out for replacement parts, as was the case in this 1989 Mitsubishi Montero. It was time to do things the way the factory did.
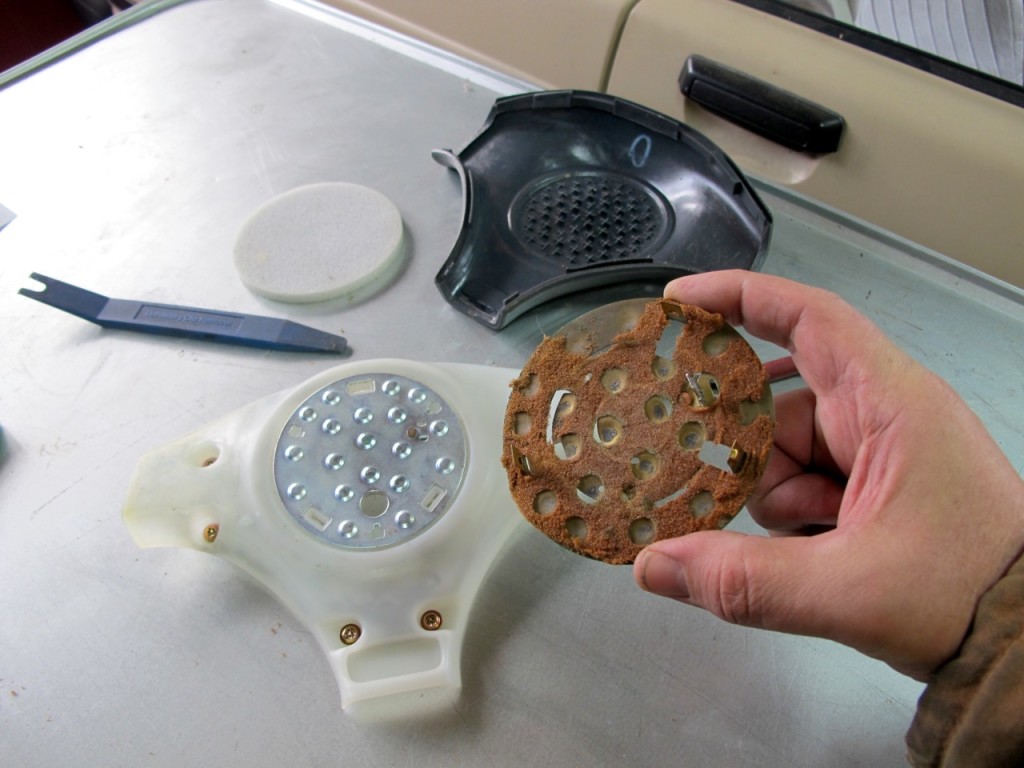
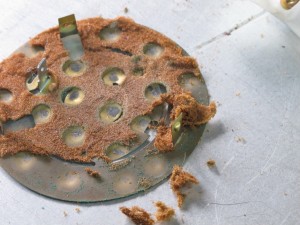
The problem was that the piece of foam that kept the contact switch plates of the horn from making contact to complete the circuit had disintegrated. With nothing to break the circuit, the horn would sound at random. Getting things back to factory specification was the plan. The simple fix was a piece of foam from a compact disc metal box set, some electrical parts cleaner, a stick of chalk, a hole punch set, and about an hour. The horn once again works just like it did 25 years ago.
Tools and Supplies
Stray foam from packaging
X-acto knife or similar
Hole punch set
Ball peen hammer
Chalk and markers
Electrical parts cleaner
Piece of Masonite for hole punch backing
Needle nose pliers
Trim and door panel removal kit
Wire brush
Hand tools
Block of wood
Step-by-Step Horn Switch Repair for a 1989 Mitsubishi Montero
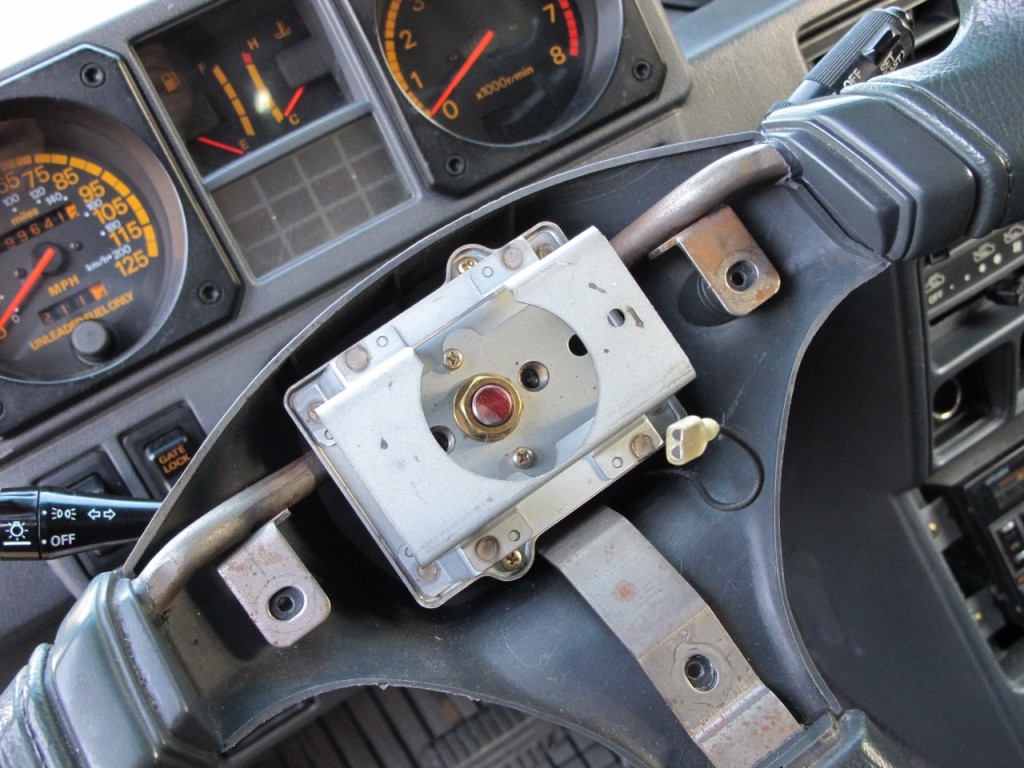 1) Remove the horn assembly from the steering wheel, being careful not to sever the wire that connects to the back of the horn pad. In this case there were screws accessible from behind the horn assembly.
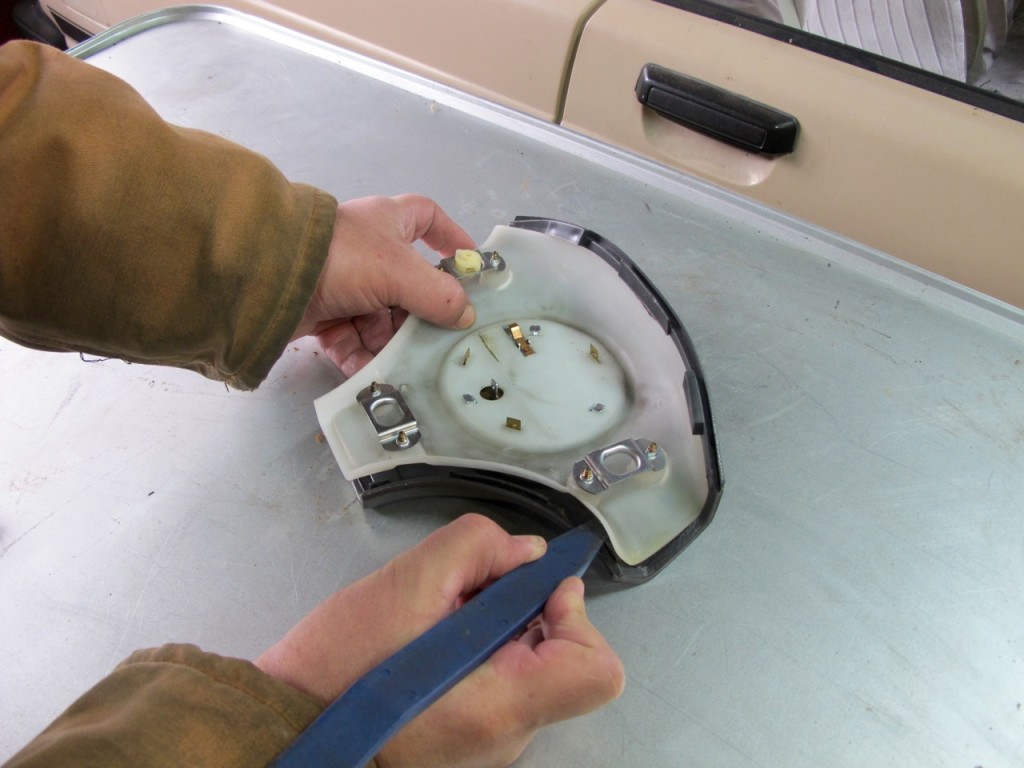 2) Carefully separate the vinyl horn pad from the assembly using a spudger, stick, or one of these handy plastic trim removal tools. Remember. This old stuff is old, easily broken, and made largely of unobtanium.
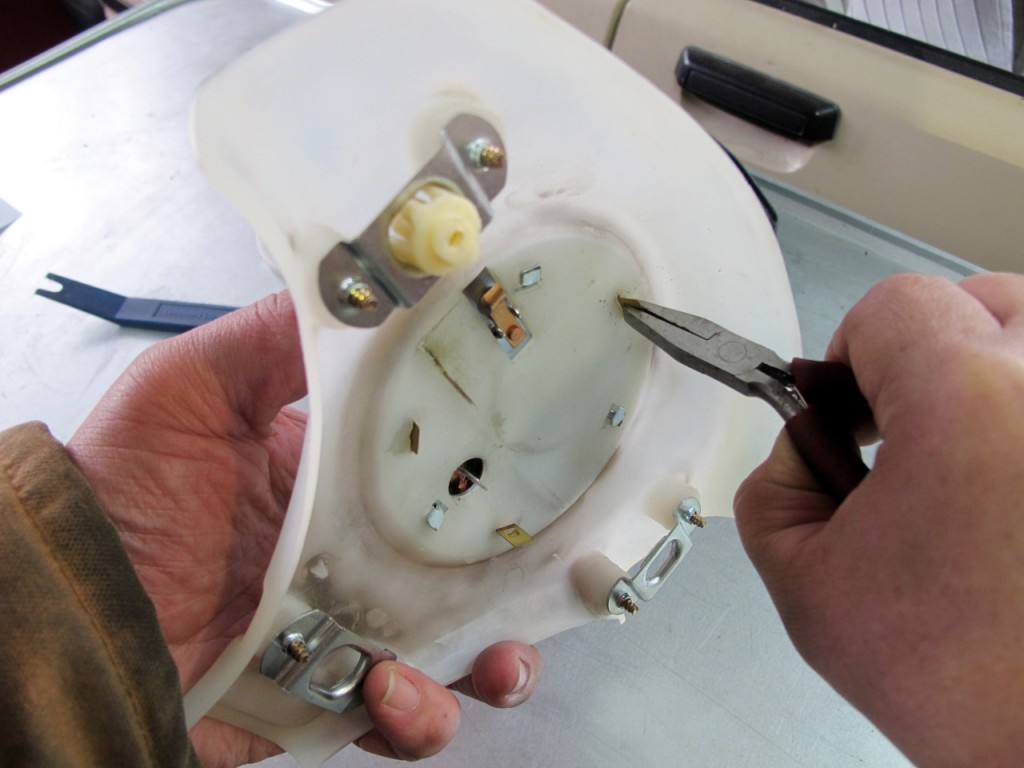 3) Use needle nose or small pliers to separate the switch plates. The pliers are shown here pinching a built-in tab of the top switch plate through the back of the horn assembly. Pinch it just enough to get it through.
 4) With the switch plates apart the problem is obvious. This decades old foam had seen far better days, and allowed the two switch plates to make contact and complete the horn circuit. Remove most of the crumbled foam with a wire brush or similar.
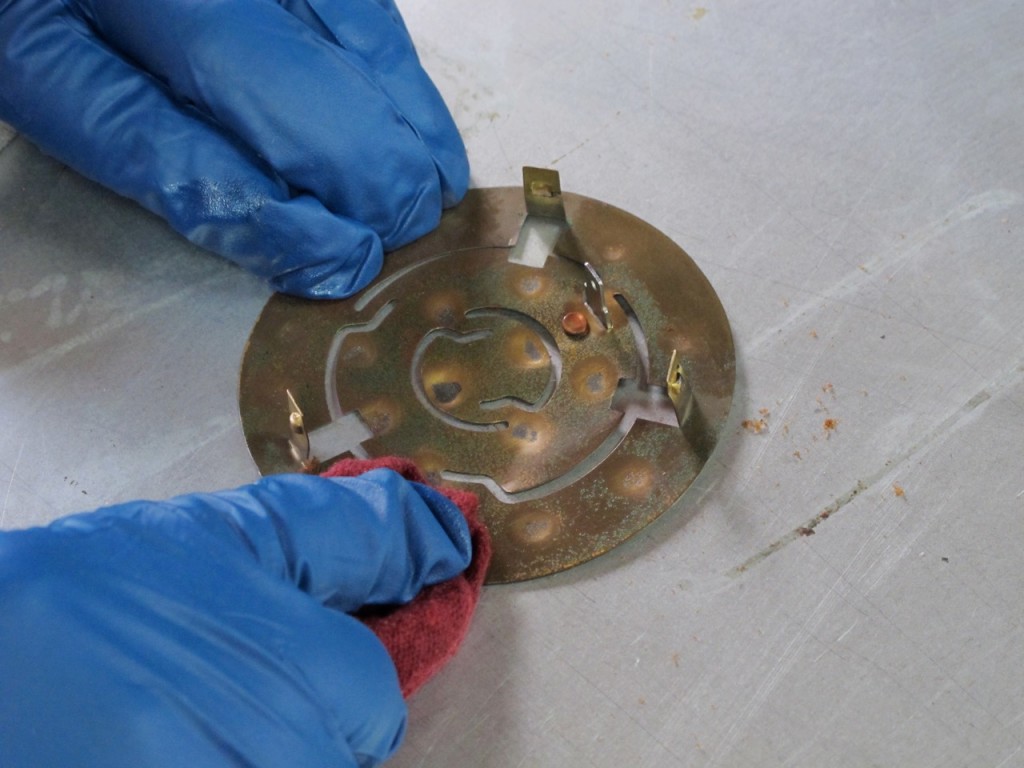 5) Removing copper oxide is a job for solvents. Give both horn switch plates a good clean up with some electrical parts cleaner. Wearing solvent proof gloves when working with toxic solvents is good practice for the future.
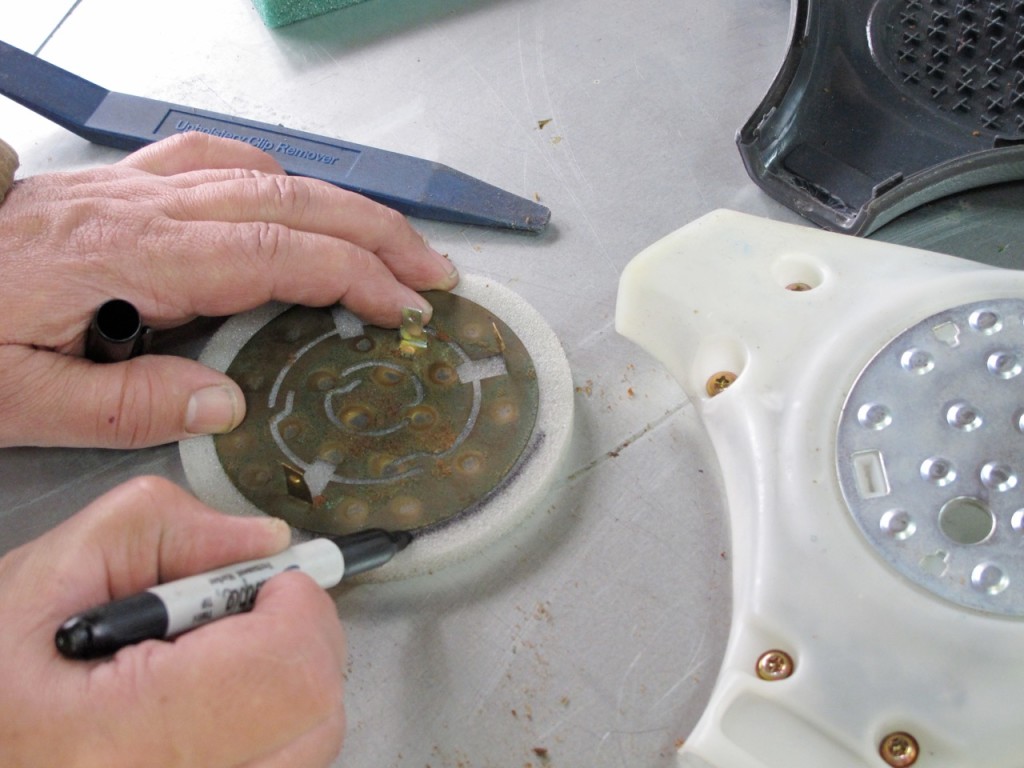 6) Use one switch plate to mark an outline on foam and trim to size. A sharp x-acto knife or set of scissors can get the job done in seconds. Flip over the switch plate to mark and cut slits for the top plate mounting tabs.
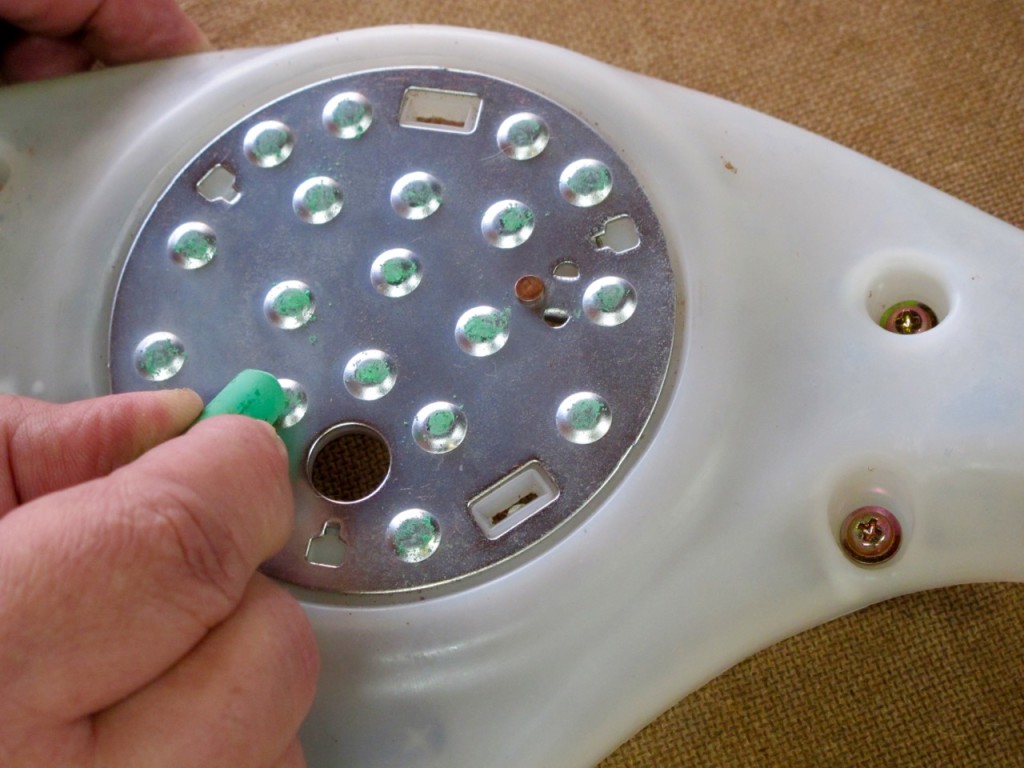 7) Trick tech tip: Mark the switch plate raised contact points with chalk to get the new holes lined up in the right spots on the replacement foam. No holes, no contact, no horn.
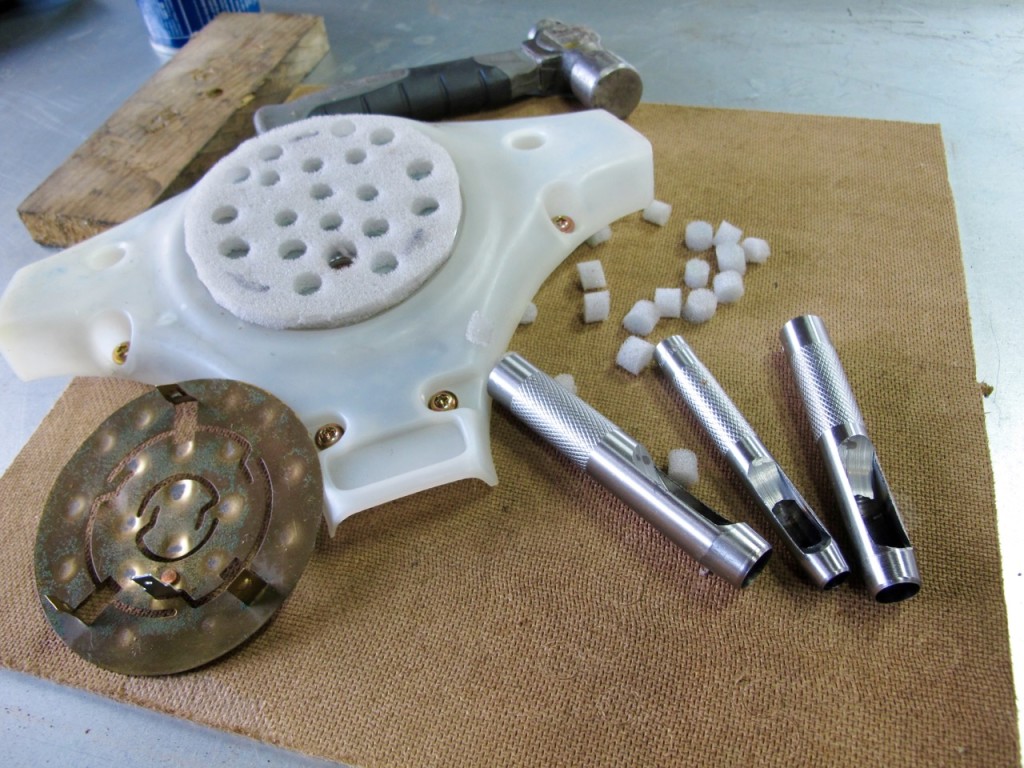 8) Depress foam onto chalked switch, turn foam over, and use hole punch kit and hammer to make new holes in the replacement foam. The hole punch kit is also handy for making holes in gaskets.
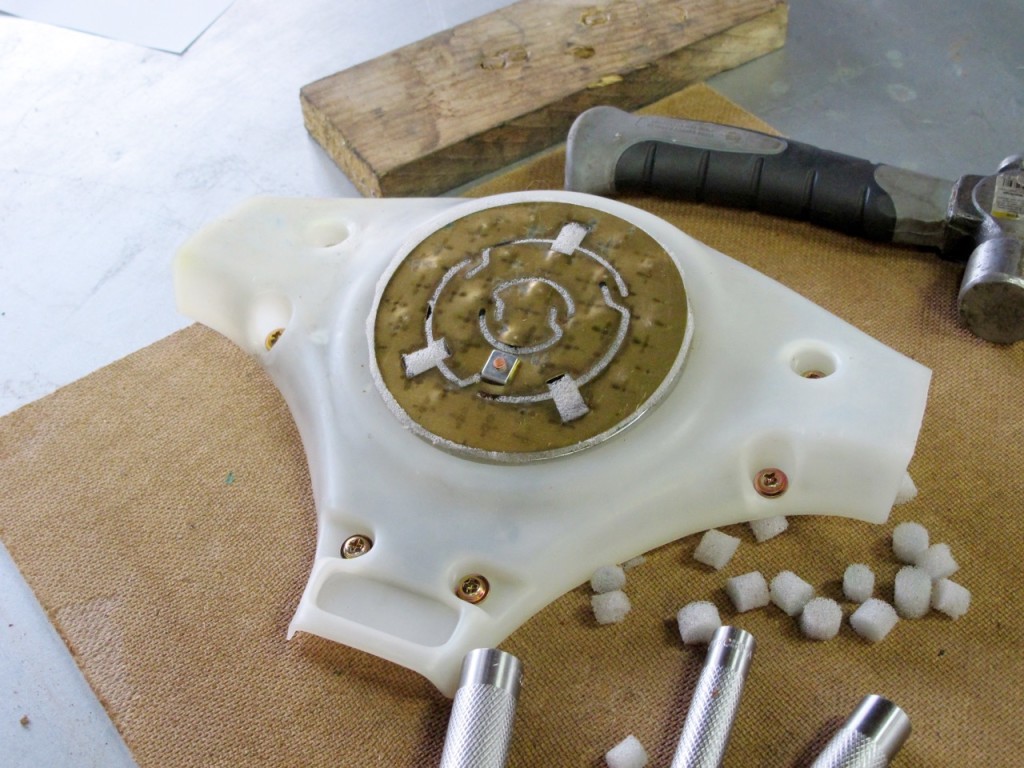 9) Take the top switch plate and push the tabs through the back of the horn assembly. Some spray adhesive on the foam is optional. The two plates hold the foam in place without need for adhesive.
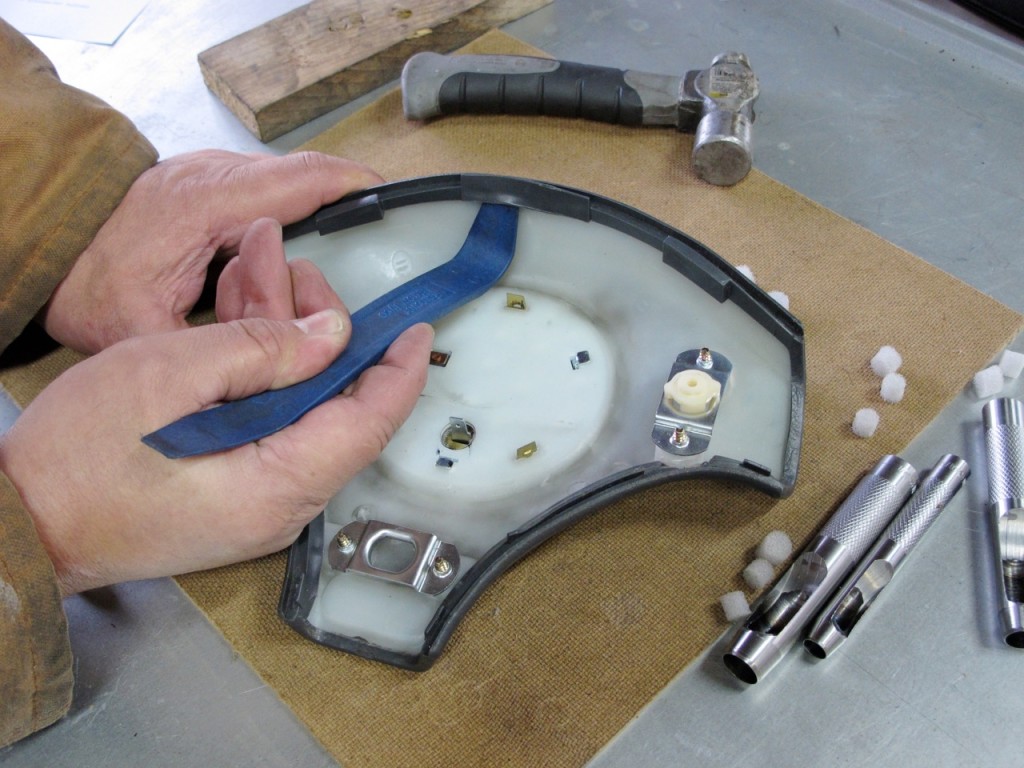 10) Spoon the top horn cover back over the horn assembly backing plastic, and reinstall the plastic mounts that accept the screws which hold the assembly to the steering wheel.
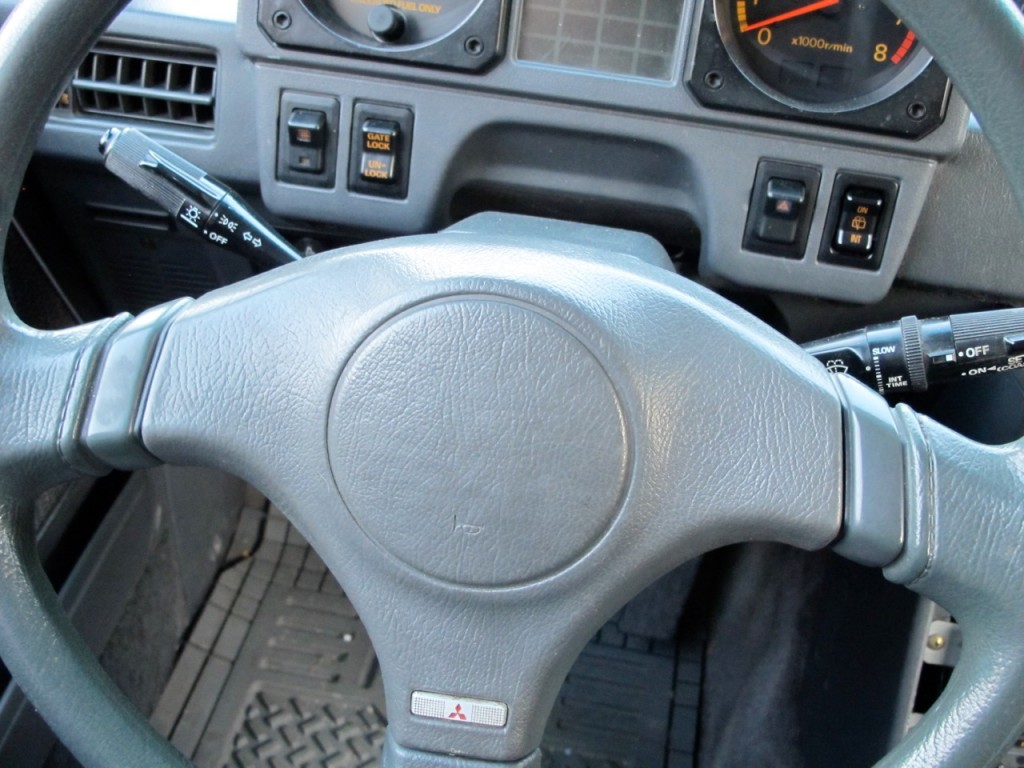 11) Re-connect the horn switch wire on steering wheel, push the assembly back onto the wheel, re-install the screws from the back of the steering wheel that hold it all together, and start honking like its 1989!